AWS Toolkit for Visual Studio Code
Getting Started with AWS Toolkit for Visual Studio Code in VS Code
To start using the AWS Toolkit for Visual Studio Code from VS Code, you need to meet the following requirements:
- Operating System: VS Code requires one of the Windows, macOS, or Linux operating systems.
- VS Code Version: The AWS Toolkit for Visual Studio Code requires you to work from VS Code version 1.73.0 onwards.
For more information about VS Code or to download the latest version of VS Code, visit the VS Code download page.
Downloading and Installing AWS Toolkit for Visual Studio Code
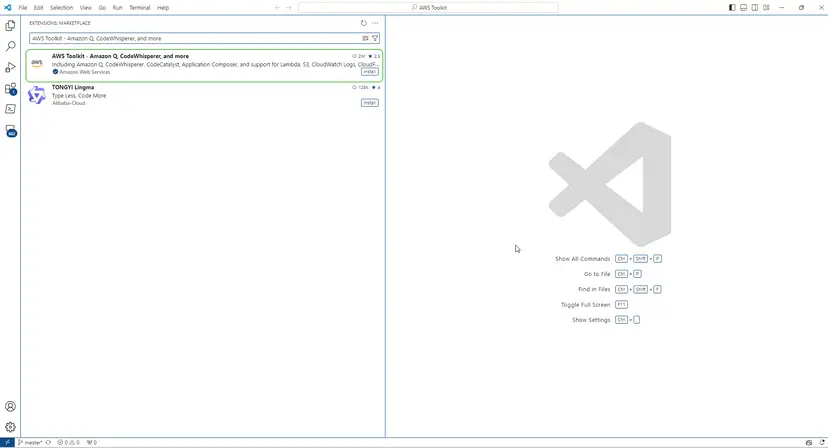
You can download, install, and set up the AWS Toolkit for Visual Studio Code through the VS Code Marketplace within your IDE environment. Alternatively, you can download the AWS Toolkit for Visual Studio Code installation files by navigating to the VS Code Marketplace from your web browser.
Installing AWS Toolkit from VS Code IDE Marketplace
-
Open the AWS Toolkit extension for Visual Studio Code in your VS Code IDE with the following link: Open VS Code Marketplace.
Note: If VS Code is not already running on your computer, this process may take a few seconds as VS Code is loading.
-
From the AWS Toolkit extension in the VS Code Marketplace, select Install to begin the installation process.
-
When prompted, choose to restart VS Code to complete the installation process.
Optional Prerequisites
Before you can use some features of the AWS Toolkit for Visual Studio Code, you’ll need the following:
-
Amazon Web Services (AWS) Account: An AWS account is not required to use the AWS Toolkit for Visual Studio Code, but functionality will be significantly limited without it. To get an AWS account, visit the AWS homepage, select Create an AWS Account, or Complete Sign Up (if you’ve visited this page before).
-
Development Environment – SDK for your preferred language: You can download from the following links or use your favorite package manager:
-
AWS SAM CLI: This is an AWS CLI tool that helps you develop, test, and analyze your serverless applications locally. This is not required for toolkit installation. However, we recommend installing it (and Docker, described below) as it’s a requirement for any AWS Serverless Application Model (AWS SAM) functionality, such as creating a new serverless application (local).